Google Ads is a powerful tool that can significantly boost your eCommerce business by driving targeted traffic and increasing conversions. In this blog post, we will guide you through a 10-step process to effectively use Google Ads for eCommerce. Let’s get started!
Step 1: Define Your Advertising Goals
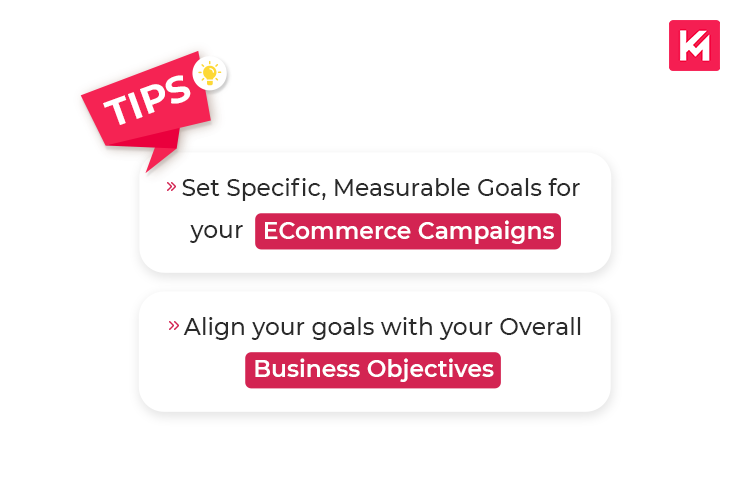
Clearly identify your eCommerce objectives, whether it’s increasing sales, driving traffic to specific product pages, or promoting a new product launch. Setting specific and measurable goals will help you tailor your Google Ads campaigns accordingly.
Which things to keep in mind while determining goals?
- Determine specific objectives
Clearly identify what you want to achieve with your advertising campaigns. Examples include increasing sales, driving targeted website traffic, boosting brand awareness, or promoting a new product launch.
- Set measurable targets
Ensure that your goals are measurable so that you can track progress and evaluate the success of your campaigns. For instance, aim to increase sales by 20% or drive 1,000 website visitors per month.
- Align with business objectives
Your advertising goals should align with your overall business objectives. Consider how your advertising efforts contribute to the broader goals of your eCommerce business, such as increasing market share or expanding into new markets.
- Consider target audience
Take into account your target audience when defining goals. For example, if you have a niche product, your goal might be to reach a specific segment of the market rather than aiming for broad reach.
- Timeframe
Set a timeframe for achieving your advertising goals. Determine whether your goals are short-term, such as running a promotional campaign for a limited period, or long-term, such as building brand loyalty over several months or years.
Step 2: Conduct Keyword Research
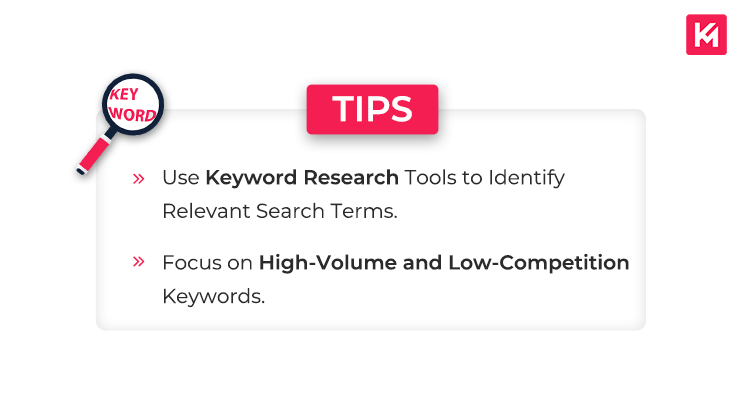
Perform thorough keyword research to discover relevant search terms and phrases that potential customers are likely to use when looking for products similar to yours. Use tools like Google Keyword Planner and other third-party keyword research tools to identify high-volume and low-competition keywords.
How To Conduct Keyword Research?
Step 1: Define your target audience
Understand your target audience’s preferences, interests, and needs. This will help you generate keywords that resonate with them.
Step 2: Brainstorm initial keyword ideas
Start by brainstorming a list of keywords that you think are relevant to your eCommerce business. Consider product names, industry-specific terms, and variations of your offerings.
Step 3: Use keyword research tools
Utilize keyword research tools like Google Keyword Planner, SEMrush, or Moz Keyword Explorer. These tools provide valuable insights into search volumes, competition, and related keywords.
Step 4: Research competitor keywords
Analyze your competitors’ websites and ad campaigns to identify the keywords they are targeting. This can provide additional ideas and help you understand the competitive landscape.
Step 5: Analyze long-tail keywords
Long-tail keywords are longer and more specific keyword phrases. They often have lower search volumes but higher conversion potential. Look for long-tail keywords relevant to your products or services.
Step 6: Assess keyword relevance
Evaluate the relevance of each keyword to your eCommerce business. Consider search intent and how well the keyword aligns with your products or offerings.
Step 7: Analyze keyword competition
Determine the level of competition for each keyword. Look at the search engine results page (SERP) to see if there are established competitors ranking for those keywords.
Step 8: Consider keyword search volume
Take into account the search volume of keywords. High-volume keywords can attract more traffic, but they may also have higher competition. Balancing high-volume and low-competition keywords can be beneficial.
Step 9: Explore related keywords
Look for related keywords and phrases that can expand your keyword list. Keyword research tools often provide suggestions for related keywords based on your initial list.
Step 10: Refine and prioritize your keyword list
Review and refine your keyword list based on relevance, competition, and search volume. Prioritize keywords that have high relevance, moderate competition, and a decent search volume.
Step 3: Create Compelling Ad Copy
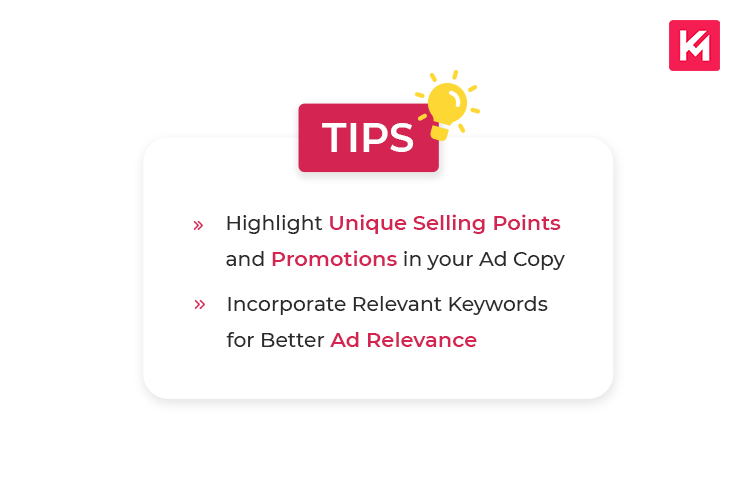
Craft compelling and persuasive ad copy that resonates with your target audience. Highlight unique selling points, benefits, and promotions to entice users to click on your ads. Incorporate relevant keywords into your ad copy to improve ad relevance and quality scores.
How to create a compelling ad copy?
- Understand your target audience
Gain a deep understanding of your target audience’s needs, pain points, and desires. This knowledge will allow you to tailor your ad copy to resonate with them effectively.
- Highlight unique selling points
Identify the unique features, benefits, or competitive advantages of your products or services. Highlight these points in your ad copy to differentiate yourself from competitors and attract potential customers.
- Craft a compelling headline
The headline is the first thing users see in your ad, so make it attention-grabbing. Use strong, action-oriented language and include relevant keywords. Communicate a clear value proposition and create a sense of urgency or curiosity to entice users to click.
- Focus on benefits, not just features
Instead of merely listing the features of your products or services, emphasize the benefits they offer to customers. Highlight how your offerings can solve problems, make their lives easier, or fulfill their desires. Use persuasive language to convey the value and positive impact of choosing your brand.
- Include a strong call-to-action (CTA)
A compelling CTA prompts users to take the desired action, such as “Shop Now,” “Sign Up Today,” or “Get Your Free Trial.” Make your CTA clear, concise, and action-oriented. Use active verbs and create a sense of urgency to encourage immediate action.
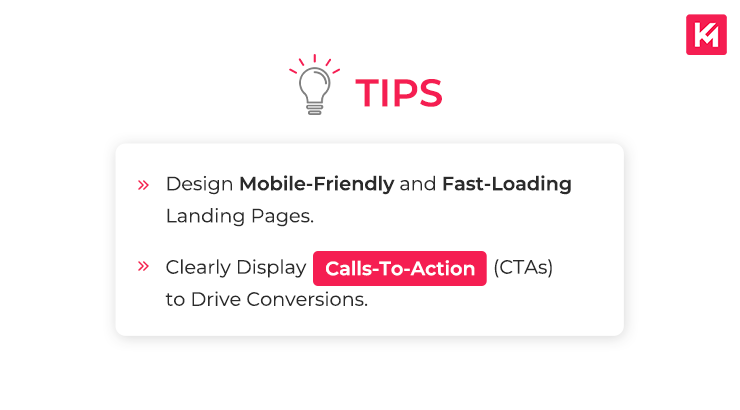
Step 4: Optimize Landing Pages
Design and optimize dedicated landing pages that align with your ad copy and provide a seamless user experience. Ensure that your landing pages are mobile-friendly, load quickly, and have clear calls-to-action (CTAs) that lead visitors to make a purchase or take the desired action.
How to optimize landing pages?
Define your goal
Clearly define the goal of your landing page. Is it to drive sales, capture leads, encourage sign-ups, or promote a specific offer? Having a clear goal will guide your optimization efforts.
Simplify the design
Keep your landing page design clean, uncluttered, and visually appealing. Use whitespace effectively to guide users’ attention to important elements such as the headline, call-to-action (CTA), and form fields. A visually pleasing and easy-to-navigate layout enhances user experience.
Craft compelling headlines and copy
Your headline should be attention-grabbing and clearly communicate the value proposition or offer. Keep your copy concise and compelling, focusing on the benefits users will receive. Use bullet points, subheadings, and bold text to break up the content and make it easily scannable.
Optimize for mobile devices
With the increasing use of mobile devices, it’s essential to ensure your landing page is mobile-friendly. There are some cool things about responsive web-design like Optimize your landing page for responsiveness, fast loading times, and easy navigation on mobile devices. Test your landing page across different devices and screen sizes to ensure a seamless experience. Checkout about responsive design guide
Create clear and compelling CTAs
Your call-to-action (CTA) is a critical element that drives conversions. Make sure your CTA stands out and is prominently displayed on the landing page. Use action-oriented language, such as “Buy Now,” “Get Started,” or “Download Your Free Guide.” Ensure that your CTA button is visually distinct and easily clickable.
Step 5: Set Up Conversion Tracking
Implement conversion tracking on your eCommerce website to measure the effectiveness of your Google Ads campaigns. Use tools like Google Analytics or conversion tracking codes to track sales, sign-ups, and other valuable actions taken by users after clicking on your ads.
How to Set Up Conversion Tracking?
Identify your conversion goals
Determine the specific actions you want users to take on your website that indicate a successful conversion. Examples include making a purchase, submitting a contact form, signing up for a newsletter, or completing a download. Clearly define your conversion goals to track relevant actions.
Set up Google Ads conversion tracking
Access your Google Ads account and navigate to the “Tools & Settings” menu. Under “Measurement,” select “Conversions” and click on the “+ Conversion” button to create a new conversion action. Choose the appropriate conversion category, such as “Purchase/Sale” or “Lead,” and follow the prompts to set up the conversion tracking.
Configure conversion settings
Customize the conversion settings to align with your eCommerce goals. Specify the conversion value if applicable, set the counting method (e.g., one conversion per click or one conversion per user), and assign a conversion window (the timeframe in which conversions are attributed to clicks).
Implement the conversion tracking code
Once you’ve set up the conversion action, Google Ads will provide you with a conversion tracking code snippet. Copy and paste this code onto the specific page or pages of your website where the conversion takes place. Place the code snippet immediately before the closing </head> tag or </body> tag for accurate tracking.
Test and verify the tracking code
After implementing the conversion tracking code, it’s essential to test and verify its functionality. Use the Google Tag Assistant or Google Analytics’ Real-Time reports to ensure that conversions are being tracked correctly. Perform test conversions to confirm that the tracking is capturing the desired actions accurately.
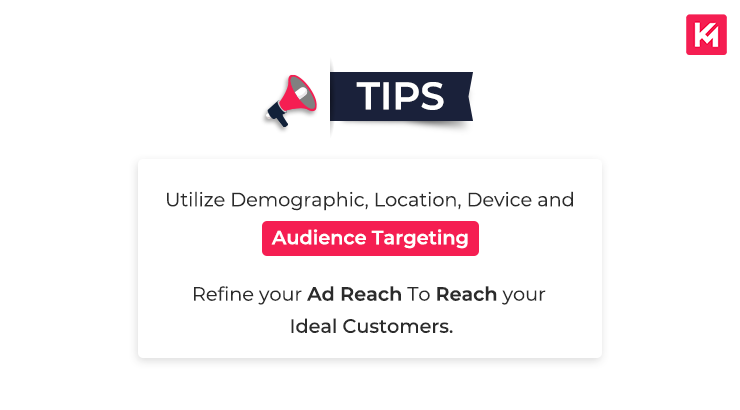
Step 6: Choose Targeting Options
Leverage Google Ads’ targeting options to reach your ideal customers. Utilize demographic targeting, location targeting, device targeting, and audience targeting to refine your ad reach and maximize your ROI. Experiment with different targeting options to find what works best for your eCommerce business.
How to Choose Targeting Options?
Identify your target audience
Start by clearly defining your target audience. Consider factors such as demographics (age, gender, income), geographic location, interests, behaviors, and preferences. Understanding your audience will guide your targeting decisions.
Utilize demographic targeting
Leverage demographic targeting options to narrow down your audience based on specific characteristics. Adjust your targeting settings based on age, gender, household income, parental status, or other relevant demographic factors that align with your target audience.
Implement location targeting
Specify the geographic locations where you want your ads to be shown. Choose whether you want to target specific countries, regions, cities, or even customized radius targeting around a specific location. Location targeting ensures that your ads reach users in the right locations for your eCommerce business.
Consider device targeting
Decide which devices you want to target, such as desktops, mobile devices, or tablets. Consider the preferences and behaviors of your target audience to determine which devices they are more likely to use when engaging with your eCommerce offerings.
Explore audience targeting options
Utilize audience targeting to further refine your reach. Google Ads offers various audience targeting options, including affinity audiences (based on users’ interests), in-market audiences (users actively researching or showing purchase intent), and remarketing audiences (users who have interacted with your website or specific products in the past). Experiment with different audience targeting options to find the ones that best align with your eCommerce goals.
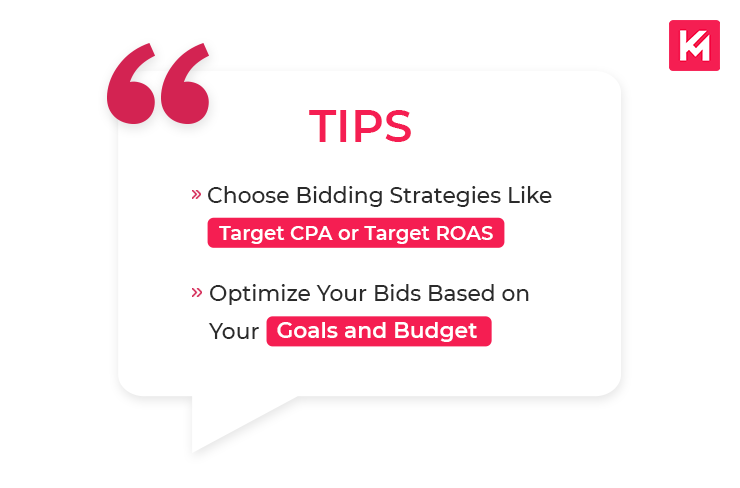
Step 7: Implement Bid Strategies
Optimize your bidding strategy based on your goals and budget. Consider using automated bidding strategies like Target CPA (Cost per Acquisition) or Target ROAS (Return on Ad Spend) to maximize conversions or revenue. Monitor your campaign performance regularly and make necessary adjustments to your bidding strategy.
How to implement bid strategies?
Define your campaign goals
Clearly define your campaign goals and align them with your bidding strategy. Consider whether your primary focus is on maximizing conversions, achieving a specific target cost per acquisition (CPA), maximizing return on ad spend (ROAS), or another relevant goal. Having a clear objective will guide your bid strategy implementation.
Select the appropriate bid strategy
Choose the bid strategy that aligns with your campaign goals. Google Ads offers various bid strategies, including Target CPA, Target ROAS, Enhanced Cost-Per-Click (ECPC), and Manual CPC. Each strategy has its own strengths and considerations, so select the one that best suits your campaign objectives.
Set bid strategy at the campaign or ad group level
Decide whether you want to implement the bid strategy at the campaign level or the ad group level. Implementing it at the campaign level allows the bid strategy to be applied uniformly across all ad groups within the campaign. Implementing it at the ad group level provides more granular control over bidding for different product categories or target audiences.
Adjust bid strategy settings
Customize the bid strategy settings to align with your specific goals and budget. For example, with Target CPA or Target ROAS, set the target cost or return you want to achieve. With ECPC, decide whether you want to enable enhanced bidding for clicks that are more likely to result in conversions. Fine-tune these settings based on your campaign performance and budget considerations.
Monitor and optimize performance
Regularly monitor the performance of your campaigns using key metrics such as conversions, cost per conversion, conversion value, and ROI. Analyze the performance of your bid strategy against your goals and make necessary adjustments. Adjust bids, budgets, or bid strategy settings based on performance data to optimize your campaigns for better results.
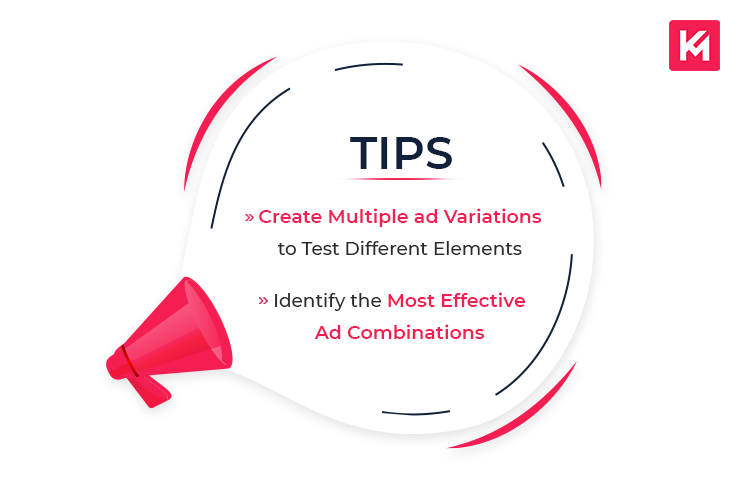
Step 8: Test Ad Variations
Create multiple ad variations to A/B test different headlines, ad formats, and calls-to-action. By testing different ad elements, you can identify the most effective combinations and continuously optimize your campaigns for better performance and higher click-through rates.
How to Test Ad Variations?
Identify elements to test
Determine the specific elements you want to test in your ads. This can include headlines, descriptions, display URLs, calls-to-action (CTAs), ad extensions, or even different ad formats. Identify the areas that you believe can have the most impact on your ad performance.
Create multiple variations
Develop multiple variations of your ads, each incorporating a different element you want to test. For example, create different headlines or variations with alternative descriptions or CTAs. Ensure that each variation differs in only one element, allowing you to isolate the impact of that particular element.
Implement an A/B testing approach
Implement an A/B testing approach to compare the performance of your ad variations. Split your audience into random segments and assign each segment to one ad variation. This allows you to measure the performance of each variation accurately and determine the best-performing ad.
Monitor key metrics
Monitor key metrics such as CTR, conversion rate, cost per conversion, or ROAS for each ad variation. Keep track of how each variation performs in comparison to others. Analyze the data to identify the variation that performs best in achieving your campaign goals.
Make data-driven optimizations
Based on the performance data, make data-driven optimizations to your ads. Identify the winning ad variation and implement it as the primary ad. Additionally, consider taking the successful elements from other variations and incorporating them into future ad iterations to continue testing and improving.
Conclusion
Effectively utilizing Google Ads for eCommerce success requires a strategic approach and attention to key steps. By defining clear advertising goals, conducting thorough keyword research, creating compelling ad copy, optimizing landing pages, setting up conversion tracking, and choosing appropriate targeting options, you can maximize the impact of your campaigns. Continuously monitoring and refining your strategies based on data-driven insights will help you drive targeted traffic, increase conversions rate, and achieve your eCommerce objectives. With these steps in mind, you can unlock the full potential of Google Ads and drive success for your eCommerce business.