The advent of one-click shopping has brought about an indirect revolution in the field of professional photography. For the online stores to be able to sell their products with the maximum efficiency, top-grade product pictures are an absolute must. The business only has this one chance to gain the potential customer’s attention and trust. Along with a crisp and appealing website design, the picture that is out of the product, needs to be of unmatchable quality. Your image quality plays a vital role in giving a perfect display to your items. Be it shoes or apparel or anything else you need to look on its minute detailing. Your product shown to the customers from the different angles will help him get a better insight to know how the product looks like and make a purchase.
Out of a hundred pictures, in all probability, you will only like a handful of them. A keen eye for detail and an aesthetic intelligence is required to shortlist the right images and put them up on the website. Before starting with it, a perfect plan is required to make sure you cover your bases. Things like which photographer will work best with your products and give you the best results, the theme of your pictures, your budget and the availability of models should be organized ahead of time. Your success is often measured with an efficiency of your workflow – how fast can you source the products, produce imagery, create website content and sell it. During the planning process, setting your budget is as vital as your project. You will hire props and models accordingly. You don’t want to limit yourself by obsessing over costs, but knowing how much you have to spend will influence many of your other choices.
After the shoot is over, your work shifts to the editing and selection of pictures and other post-production processes. For streamlining your photo production workflow and achieving maximum productivity, you need to organize everything from a minor detailing to the ultimate results. It is crucial for any kind of workflow, especially when you are dealing with merchandise photos for your online stores. Various ways of photography can help you streamline your project.
Steps Involved in BUILDING YOUR E-COMMERCE PHOTOGRAPHY STUDIO
Five steps are necessary for an exceptional product photography workflow. Let’s have a look at them to understand the process better:
- Organization
- Preparation
- Test Shoot
- Shooting
- Post- Production Final Display
1. ORGANIZATION
Organization of all that you need to do to prepare, execute and imply a product shoot should be done even before you start on collecting the resources of the shoot. Things like budgeting and categorization of work to be done on prep, shoots and editing should be extensively put down in detail.
Tip: Workflow manuals can help keep the customization process of your pictures and product information in a common file, which will help you keep a better track of all the available products and customizations on your website. They can also help you follow through the process of photographing and storing your product and its details. Make sure you update your manual as often as you update your processes. Communication is key in the production business.
You should always do the maximum research on how else you can make your shoot creative. Some elements of organization are briefly noted below:
– Cataloguing
Cataloguing is the first and foremost step in the organization process. You have to set boundaries on your marketing and sales of your products. Ask yourself if you are going to sell your products and services nationwide, or on a small scale? Cataloguing is a vital aspect in expanding your customer base. It is an effective way to expose your consumers to all similar products and services in distinct categories that your company offers. This categorization is further split into two- cataloguing of products and cataloguing of images.
Product cataloguing is the categorization of products based on their type, features and usability. Product cataloguing is done by description, size, associated tags, product name and any other identifying info.
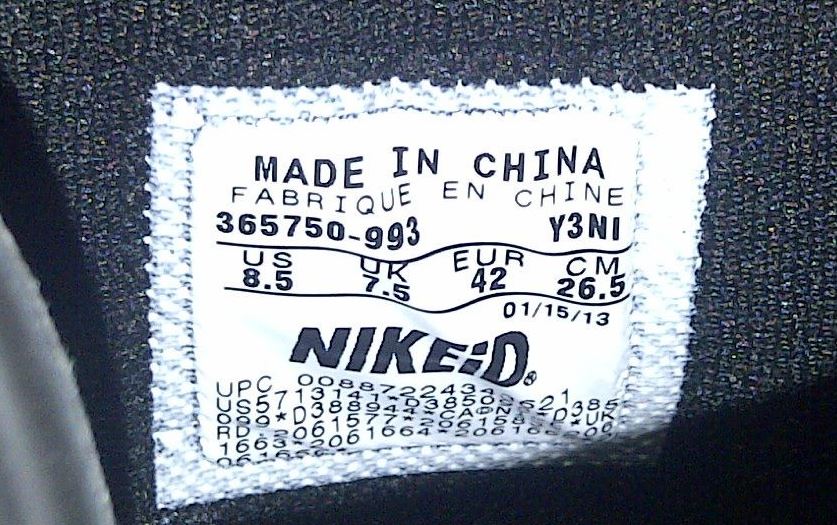
It is a process which needs complete care. Make sure while providing a tag to the item the product number should be same as you have entered in your computer software. If you are dealing in some handmade or unique or antique products then make sure you provide the clear and complete information on its tag and get the same done in your system as well.
This naming and tagging structure will ensure you to upload the correct images of your product. The name which is given to the product should be the same for the image. This will make your uploading process easy and hassle free.
Image Cataloguing is the categorization of products based on their images and related elements like colors and shapes. When you organize, make sure you organize your digital photographs and the necessary files associated with it. Among various cataloguing software’s, Adobe Lightroom is the best software used for this process. This software allows you to see all the images that you have taken, filter through them by deleting or selecting images, rename the files and make “batch” edits to multiple images at one time.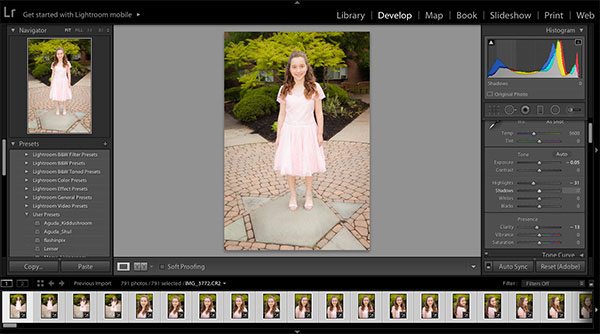
Tip: Take a backup of your files and images in their entirety. In case of an emergency, you should always have an easy access to your back-up data
2. Preparation
Here comes the preparation process after the planning and organization. During the photography session, you need to be prepared with various things beforehand so as not to create any last minute mess. Keep in consideration the fact that you might need attention so keep a flexible margin for props when you are preparing.
Product preparation
The first and foremost step in this phase is preparing your product. Make sure the product you are going to display is in good condition. If it’s a shoe then it should be properly clean with a good shine, and so on. Have an eagle eye on everything to make your product look the best. Be equipped to spend adequate time preparing each item — even the smallest speck of dust will be visible in a product image. So keep things neat and clean.
Organizing
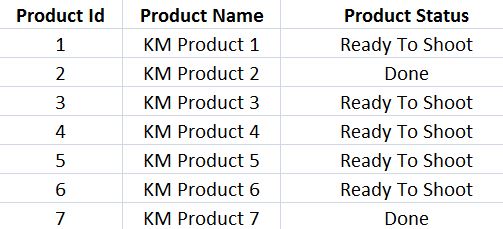
It is also important not to jumble up the products as you have spent so much time cataloguing them. Prepare your products in a line-up according to the catalogue and update their status once the shoot is done.
Model selection
If you are thinking to get your product shot on a live model than on a mannequin, you need to have the appropriate model. Model selection is a very complex process. You cannot hire any random model for the shoot. Model with a personality which suits your product is recommended.
For instance, if you are photographing sports equipment or gym products then your model should have a fit physique. Selection of male and female model directly depends on the type of product you are going to display.
Type of camera and lens
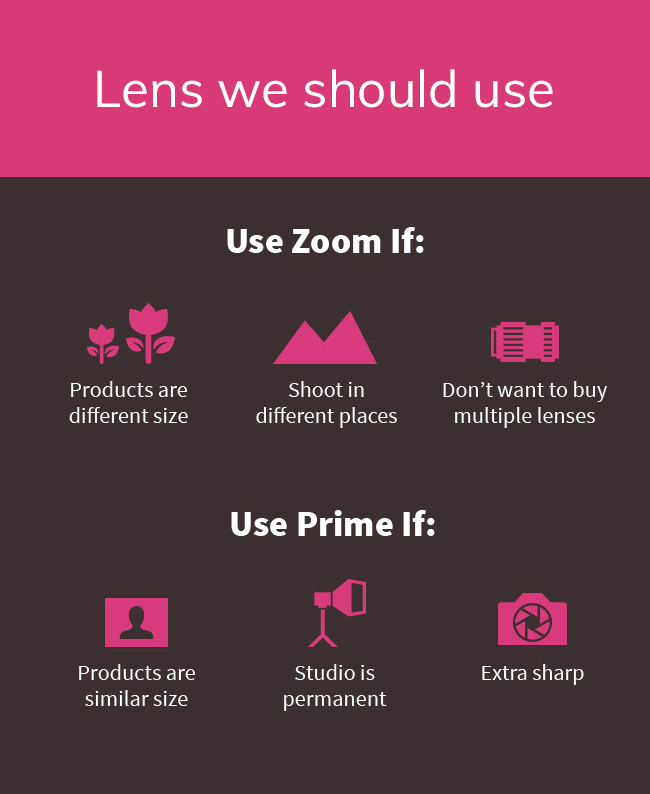
If you don’t have much knowledge about the lens to be used for complete detailing during the product photography then you should not hesitate to ask for help. Your image quality should be perfect. You must also have good knowledge about the cameras as which would be perfect for what kind of shoot. Whether you need to opt for a 5D mark or 6D mark camera.
Software to be used
With the wide range of software availability, you need to select the best one with which you can work to get fruitful results for your photographs. The image capturing software is very important. For this, you need to do a thorough research and find the one which is easy to shoot in-camera with your CF or SD card and then transfer the images over to your computer via card reader at a later time.

Location
For a perfect shoot, you need to create the ambiance of the shoot. You need to prepare the setup with cameras, all the required equipment, tripod, tables, clothes, stands etc. The place where you will carry your photo shoot should be neat and clean with proper lighting as required. For this, you need to carefully position your system, product, chair, and lights in areas where you won’t make the work more difficult or trip yourself up. If you are working with artificial lights then handle them carefully as they are costly and need extra care.
3. TEST SHOOT
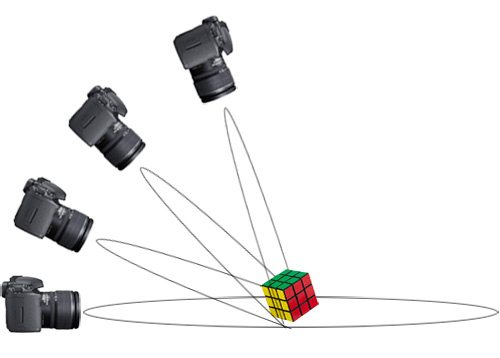
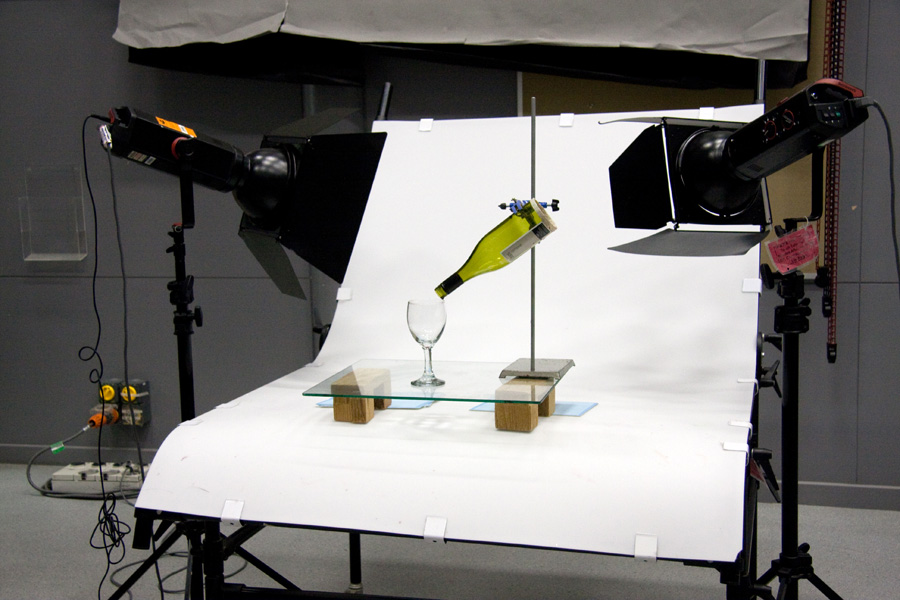
Test shoot is done to set up the cinematography and other settings to be used in the pictures. The angles of clicking the picture, contrast, saturation and other effects like background and timing are also finalized during test shoots.
The product or prototype is set up and photographed from various angles to see which one looks the best. The props are tested against the product and only finalized if they enhance the product. The finalised angles and props are measured, marked and document Ed for the day of the shoot.
Camera setting
Camera setting is also finalized for the photographs of the specific products. Shutter Speed, Aperture, ISO, White Balance, Focal Length and Contrast are tested and decided upon.
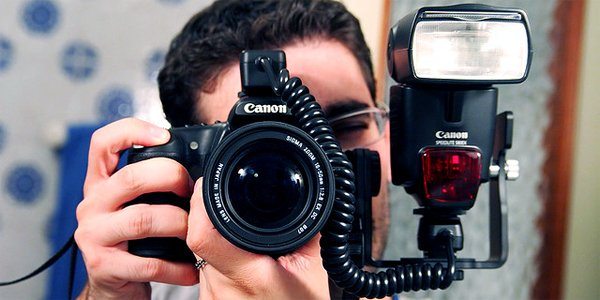
Image quality
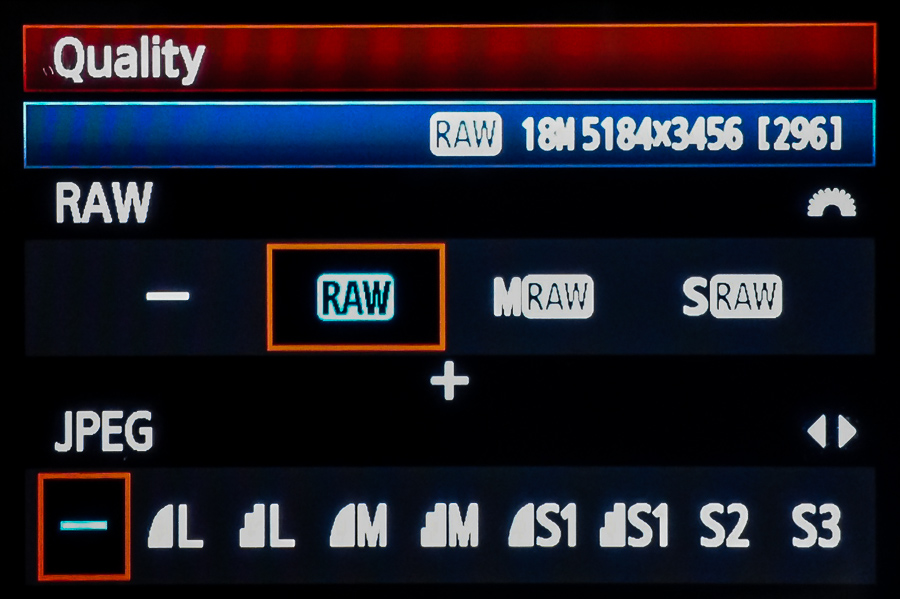
Image quality is tested after the test shoot, finalizing on the quality of image that is to be produced and the final measurements required for it. The size of the image is also decided after testing out the quality of it in a range of sizes available to the camera that is used.
4. Shooting
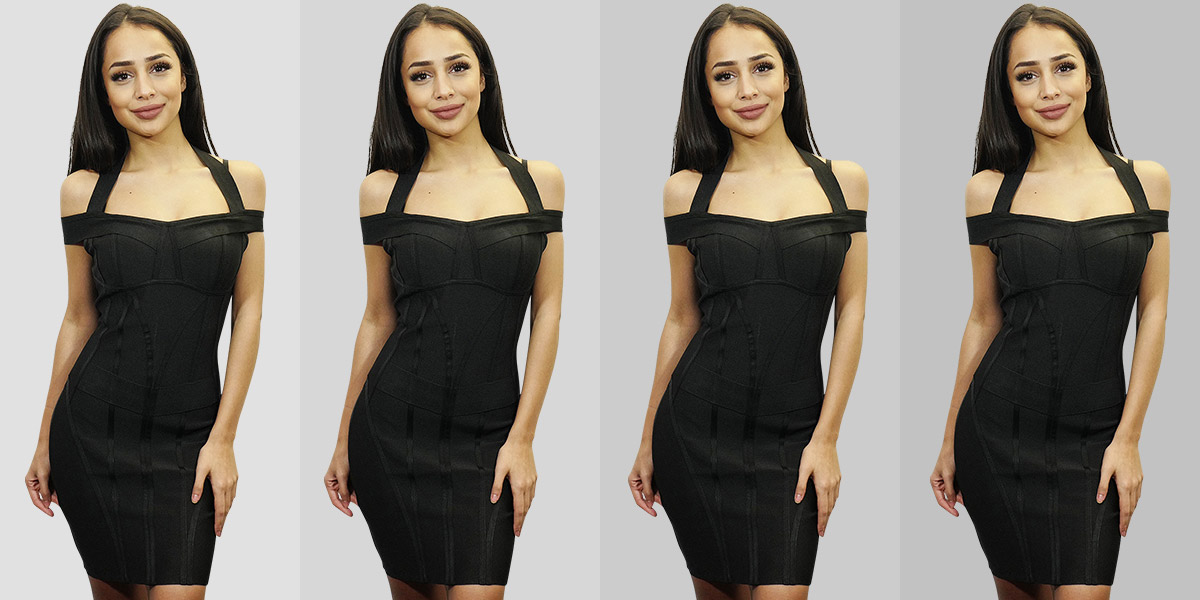
After the pre-testing comes the shooting. It means all the settings have been done and you are all set to shoot your final product. Don’t lose hope if you are not getting the perfect click. Try as many as you can and at last you will have thousands of good images from which you can finalize the perfect one. This step requires lots of patience in the photographer. Coordinate perfectly with the model if you are doing a product shoot with a model. Stay polite and give the necessary directions to her/him that enhances the product.
Keep back-up generators, batteries, props and assistance in place so that in unforeseen circumstances or improvisation, your shoot can still flow smoothly.
5. Post- Production Processing
After clicking the pictures comes the post- production process in which with the availability of editing software you can create magic in your pictures.
Image editing is done with the help of editing software like Photoshop. Re-touching finer details and adjusting the lighting and balance of the picture is done in this step. Try to limit your editing to a minimum as too much editing leads to picture artificiality. Keep your product pictures as close to the real-life examples as much as you can as customers tend to trust the actual-looking pictures more than their edited counterparts.

Save multiple image versions
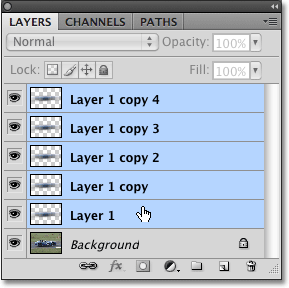
Try to save the multiple image versions. You need to work with layers of the image. This will help you notice the change and would become easy for you to save it.
6. Final Display
Here comes the final display of your image. Your product is all set for the display to your customers. After much hard work and patience, you are surely going to get the best results.

The key to establishing a brilliant e-commerce photography studio lies in the thoroughness of the pictures. The care and concern that you put in the whole process is reflected in the images. Aim for perfection when it comes to photographing displayed products. Artificiality and editing take the feeling of confidence away from the customer, so edit to the bare minimum of what you can. Good luck!

